One of the biggest challenges that people have in setting up their Plex application on Google Chromecast is that they seem to not get how to actually cast the content that they want to consume without typing up their smartphone or computer while they are actually watching the content.
Our research shows that if the user knows what he is doing then Plex on Chromecast is not only pretty easy to get but works surprisingly well.
All you really need to do is to learn how to use Plex’s full-featured and comprehensive web client in order to send the required content to you bigger screen, such as that of your TV or something else, without ever forcing yourself to have no choice but to keep the content active and playing on one of your other internet-enabled devices.
This is the guide for you if you want to know how to properly and quickly set up the official Plex app on your Google Chromecast.
Table of Contents
What is Chromecast? And what is Plex?
Plex is more or less just a really good streaming media server which has the ability to deliver high-quality content right to one’s mobile device, computer and/or TV.
Users have the option of using Plex in order to watch TV shows and movies that they have downloaded to their machines.
Plex is also very good at managing the user’s audio content.
It allows users to take their home audio content library and video library out of the house wherever they are going as well.
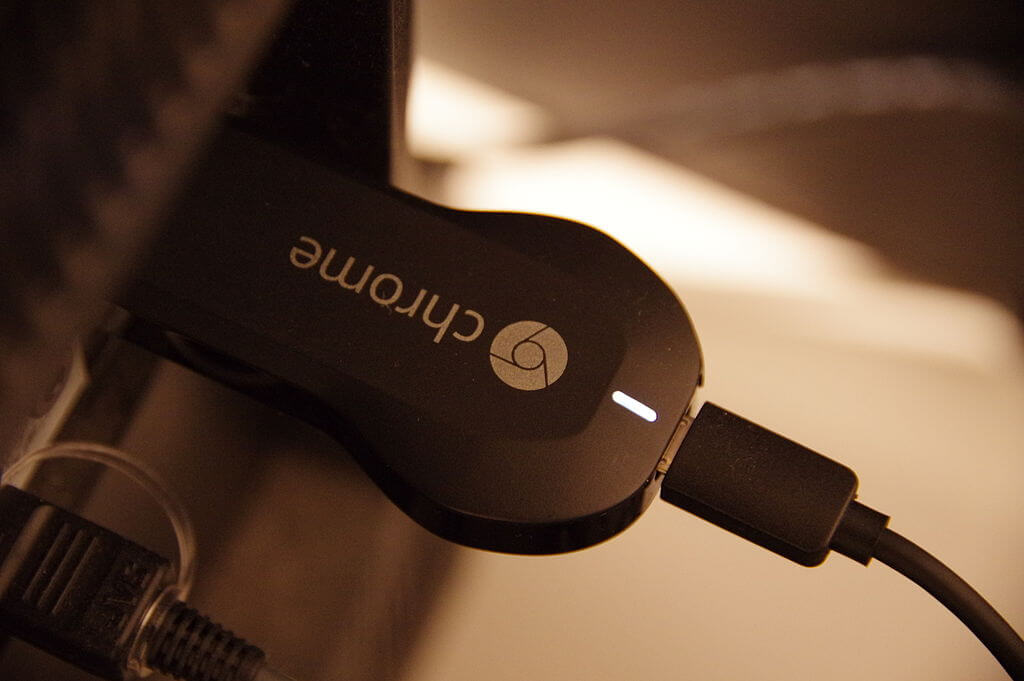
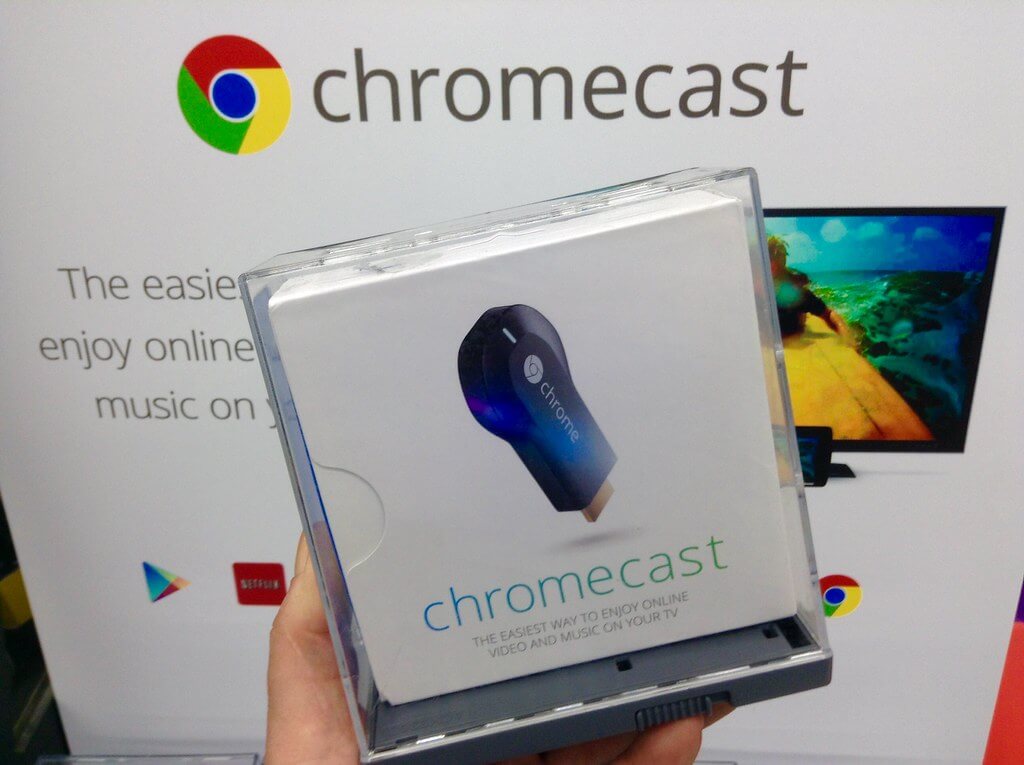
As for Chromecast, it comes to us directly from Google.
Google apparently wanted to develop a low-cost, effective but simple online content streaming device which would work on any given TV set that supported an HDMI port.
Our research shows that Google Chromecast was actually one of the very first online streaming devices that came to the home market.
As a result of Google’s hard work behind the scenes among many other factors, Chromecast is now at a point where it has a massive user base all over the world.
We have also come to know that one of the many things that streaming servers such as Plex do better than almost anyone or anything else in the same industry is that Plex offers complete support for almost all internet-enabled devices.
So users do not have to worry about taking extra steps to make sure that their device is able to support Plex application and Plex content.
If you really think about it, that is quite a big advantage to have over others.
Users who know how to handle Plex properly can easily set up the official Plex application in order to cast videos without ever facing any stuttering issues or any problems related to audio desync.
Our research also tells us that even users who have first-generation Google Chromecast devices (which are pretty underpowered by today’s standards) can install Plex on them to stream content.
Now, if there is one thing that we do not like about Google Chromecast is the fact that currently there is not a single way in which one can install different apps or stream content independently.
But that is a problem we have seen in almost all other competing internet-enabled devices.
So if you want to consume anything on your big-screen TV lying in your room or living room, you have to do it either via streaming or casting to your Google Chromecast.
On the other hand, Plex almost has universal support for people making use of Google Cast.
Not only that, but Plex also offers all users a fantastic and very functional web interface.
We have no doubt that a lot of users would find it a great choice for all their streaming needs.
Of course, first, they have to make sure that they own a valid Google Chromecast device.
How to run Plex on Google Chromecast safely?
It is not that hard once you get the hang of it.
Of course, we are aware of the fact that user privacy and security is absolutely paramount when it comes to the online world.
Sometimes, people get into legal trouble for simply streaming or downloading content.
And it is true that certain kinds of content can land you into trouble more readily than other types.
That is the reason why we recommend that users should also make use of a VPN service before they start using the Plex server for their streaming needs.
On that note, that warning also holds true for any person using any other internet-enabled device.
This is even more important if you are used to downloading videos and/or stream online content via your machine.
So how do VPNs keep you safe?
Well, to start things off, VPNs encrypt the user’s internet connection.
This makes it pretty much impossible for any type of hackers or the user’s internet service provider to spy on the user or record the user’s data or even view the websites that the user has visited in the past.
Making use of a VPN service also ensures that you never have to suffer man in the middle attacks.
These are essentially targeted attacks that hackers launch in order to steal the potential victim’s identity and passwords.
If you are making use of a VPN service, you are actually making it much much harder for hackers to get anything on you.
Now, there are a ton of VPN service providers available in the market right now.
And signing up for the right now is more difficult than never.
One of the reasons for that is the fact that there are many good VPN service providers.
But that does not mean that they are good VPNs for you.
What you need, is a VPN service that works for you.
Therefore, the only practical way of achieving the goal of signing up for a VPN service that works for you is to read briefly about the best VPNs that the industry has to offer.
After that, you can sign up for whichever VPN service you feel is the best for your needs.
Click here to read our guide on the best VPN service providers in the world right now, not just for getting Plex on Chromecast but for a ton of other stuff as well.
Let’s move onto the part where we tell you more about how to get Plex on Chromecast easily and quickly.
How to set up Plex on Chromecast
First, you need to set your Google Chromecast up properly.
By that, we mean that you need to make sure that your specific Plex server is able to communicate appropriately with your Google Chromecast internet-enabled device.
Now, if you are already at a point where your Google Chromecast is ON and running without any problems and you have somehow managed to confirm that it has the ability to cast stuff successfully as well then you can skip right now to the step that comes after this one.
First, you should have no problems in opening up the URL that goes something like chrome://cast in the Google Chrome web browser.
From there, you need to view the complete list of internet-enabled devices.
And if your screen says Ready to Cast, then guess what?
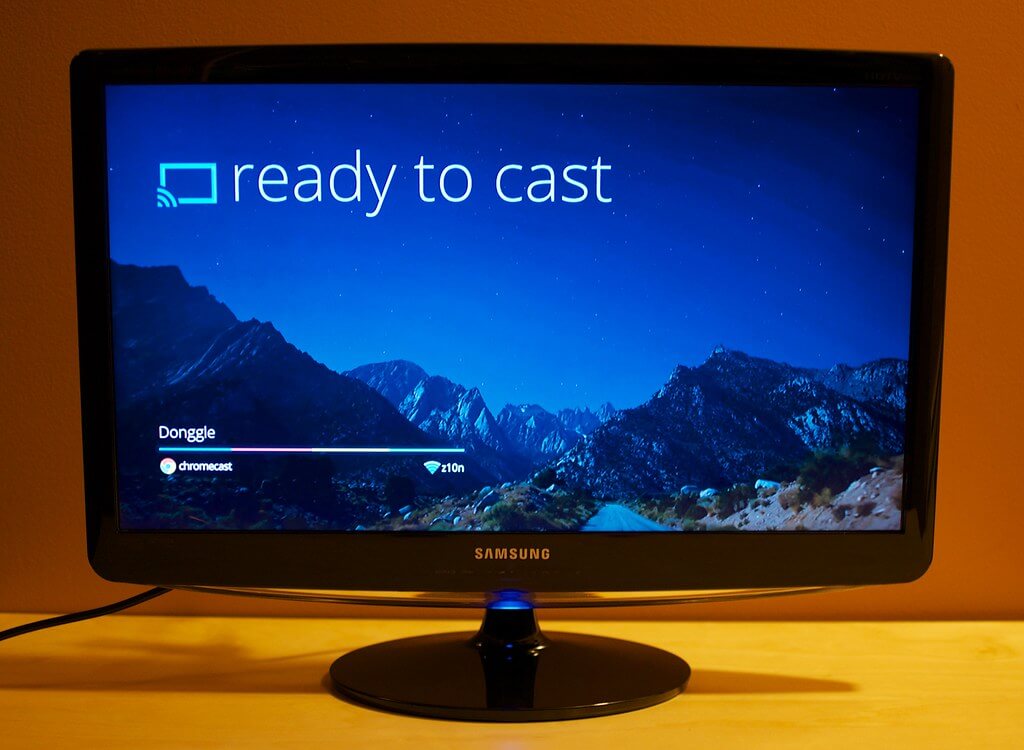
You are ready to cast.
Settings for Plex on Google Chromecast
- In a situation where you know that you have not managed to configure your device properly, what you should do is you should again go to the URL chrome://cast via your Google Chrome web browser and then look at the section where it says Click to set up. This should be written on the screen where it previously said Ready to cast.
- All you really need to do here is to follow the given instructions on the screen and then click the relevant link.
- When that is done, you need to click the button that says Set me up.
- From there you should have no problems in seeing one of those progress spinners which appear on your screen.
- In your case, it should appear right below your device.
- Now, after your Google Chromecast device is done communicating correctly with your machine, the setup process should ask you to confirm a code that appears on your TV.
- What you need to do is to click the button that says Next if you see the code matches.
- With that out of the way, now you should have the option of naming your internet-enabled device.
- Again, if you happen to have more than one Google Chromecast in your house then you should pick a relevant name which would indicate the room in which your Google Chromecast is located.
- When that is done, you need to click the button that says Next in order to move to the screen where you are allowed to actually set up your wireless network.
- On the next screen, you should be able to fill in all the details regarding your current wireless network.

When you are finished, you should have no issues in making your Plex server talk to your Google Chromecast streaming device.
Not only that, you should be able to stream content to your Chromecast by making use of the Plex interface or even the official Plex mobile apps.
The other thing that you should know is that when you are finished with this you should see the text Ready to Cast displayed prominently right under your internet-enabled device whenever you open up the page chrome://cast on your Google Chrome web browser.
If you see that text, that is the indication that you need in order to know that everything is set up as it should be set up.
Perhaps this is a good time to mention that you can also make use of your smartphone to set up your Google Chromecast device with the help of Google Home apps.
The setup process for that is pretty similar to how you should set up Chromecast on your desktop computer.
In other words, the steps remain pretty much the same.
At this point, you should have your Google Chromecast device all set up and ready to go.
Now is the time to optimize your specific Plex server so that you can stream even more smoothly on your Chromecast devices.
How to optimize Plex for your Chromecast
Needless to say, Google Chromecast is no longer the most powerful online streaming machine/device available in the market today.
So if you happen to stumble upon performance issues such as audio de-sync or stuttering, you should know that there are a couple of settings that you can tinker with in order to fix them and also enhance your device’s playback capabilities.
Basic configuration
There are a total of two changes that we want you to make to you default configuration settings if you want to reduce the total size of the content files that you want to stream directly via your Google Chromecast device.
You have to take such steps in the case of Google Chromecast because unlike Amazon Fire TV and/or Roku devices, Google Chromecast devices have small memory buffers.
Here are the steps that you need to take.
- First, we want you to open up the official Plex web client.
Then we want you to click on the menu item that says Settings. - After that, you should scroll down a little bit and then click on the menu item that says Transcoder.
- From there, we want you to change the setting Transcoder quality from its default value to Prefer higher speed encoding.
Now, assuming that the processing power of your Plex server is not great, such change to the value of Transcoder should help you in your quest to eliminate buffering issues. - The next step is to scroll down a little bit more and look at the option that says Background transcoding x264 preset.
You need to change that option to Medium.
Of course, you can go higher, but we leave that up to you.
What this setting does is that it reduces the actual file size of the user’s stream. In the process of doing so, it also clears up various streaming errors.
These errors rise up when there is too little bandwidth.
After you have managed to make the changes that we have mentioned above, what you need to do is to click on the button that says Save and after that go back to the main page of your Plex library.
How to optimize videos while setting up Plex on Google Chromecast
Some of our readers may still not know this but Plex also has the capability of converting a given content in any given video format to a format that your device supports.
The community calls this ability as optimization.
But why would you want to do this?
Well, it turns out, when you optimize videos for Google Chromecast they do not lag or buffer.
If you find that you are still suffering from streaming issues while trying to watch content via Plex on Google Chromecast then the best thing that you can do is to generate a fresh and optimized version of all the TV shows and movies that you have planned to watch via Plex on Chromecast.
You will find that in the majority of those cases, the changes that you will make will prove enough.
However, this last tip will certainly ease your Plex on Chromecast struggles.
What we want you to do now is open the Optimize menu and then from the shown drop down menu choose a given optimization profile.
When you have finalized your Chromecast profile (we’ll show you how to do that in the next set of steps) then a custom profile will automatically be saved on your machine so that you are able to optimize all content for Google Chromecast in your future sessions as well.
Now, after selecting the Custom option from the optimization profile drop-down menu, we want you to look at all the options that are available to you via the drop-down menu.
What we want you to do here is to change the current name of the profile to Chromecast.
Then, we want you to change the platform to Android.
And then change the video quality to 720p, 2 Mbps.
We also want to let you know that it is entirely possible for you to make use of a higher quality setting provided you have in your hand a second generation Chromecast device.
If you set the quality to low then you will make sure that you are able to stream content on your Chromecast device without skipping issues.
Once you have managed to change the required settings, we want you to go ahead and click the button that says Optimize.
Once you do so, you will automatically initiate the process of converting your content video to a format that is more friendly for your device.
When you do so, Plex will also take it upon itself to show another message which would inform you that it is currently optimizing the video for your specific device.
Now, what you need to do is to click the link on the screen in order to view the progress bar regarding the video conversion.
You are, of course, free to continue making use of your current Plex server all you want till the video conversion process reaches its completion stage.
Remember, you can always monitor the optimization progress with the help of a single click on the button that says Status and appears in the upper-right portion of the official Plex online client.
After clicking the Status button, make sure that you also select the option that says Conversion.
When the time comes and your conversion screen says that Plex has finished optimizing the video for your device, you should be able to play the video content by making use of the instructions in the section below.
How to play/stop optimized videos
Now, converting videos and optimizing them is one thing.
Playing them is another.
In other words, when you have finally managed to optimize your videos via Plex on Google Chromecast, the process of playing them is fairly straightforward.
First off, you need to note the symbol which appears in the top left portion of the given video’s poster.
From there, you should have no problems in seeing that you have 2 versions (which are both different from each other) of the same given video.
That, our research shows, is the clearest indication that you have successfully an optimized a copy of your video and it is present in your library.
Moving on from that, if you want your device to always play the optimized version of the given video content then you need to perform a click on the symbol ‘…’.
Then you need to choose the option that says Play version…
This option should appear in the list of options shown on the screen.
From there you are free to select whichever version you want your device to play.
Additionally, you should also choose the option Chromecast- 1.9 Mbps, 720p from the menu in order to play the same version that you optimized for your Google Chromecast device.
Apart from that, once you find that the video is playing you need to cast the content directly on your device.
Here are the steps.
- Open the copy of your video content that you would like to cast on your mobile device or computer
- Hit the icon for Google Cast.
- Select Cast… (which should appear in the menu)
- Select which of your Chromecast device you want to use.
- Hit Yes
To stop playback you need to,
- Open the web interface of Plex
- Hit Google Cast symbol which appears in the top right portion.
- Click on Disconnect under the appropriate Google Chromecast device after entering the drop-down menu.
And that is it.